Sol Tower (階層都市ソル, Kaisou Toshi Soru, lit. "Hierarchical City Sol") is a major location in Legend of Legaia. It is the largest and most technologically advanced city in the world of Legaia, and the location of the first two story-related boss fights in the third act of the game. It is one of a small number of locations where humans have managed to survive the ravages of the Mist since its initial appearance.
Profile[]
"The world's largest city, Sol, is known by many as Legaia's entertainment capital. Visitors enjoy the full facilities, theaters, fighting arenas, amusement parks, and more! Sol is actually a single giant structure with a history going back hundreds of years. Enjoy the breathtaking view of Karisto Kingdom from the observatory at the top floor!"
- Official Guide to Sightseeing in Karisto
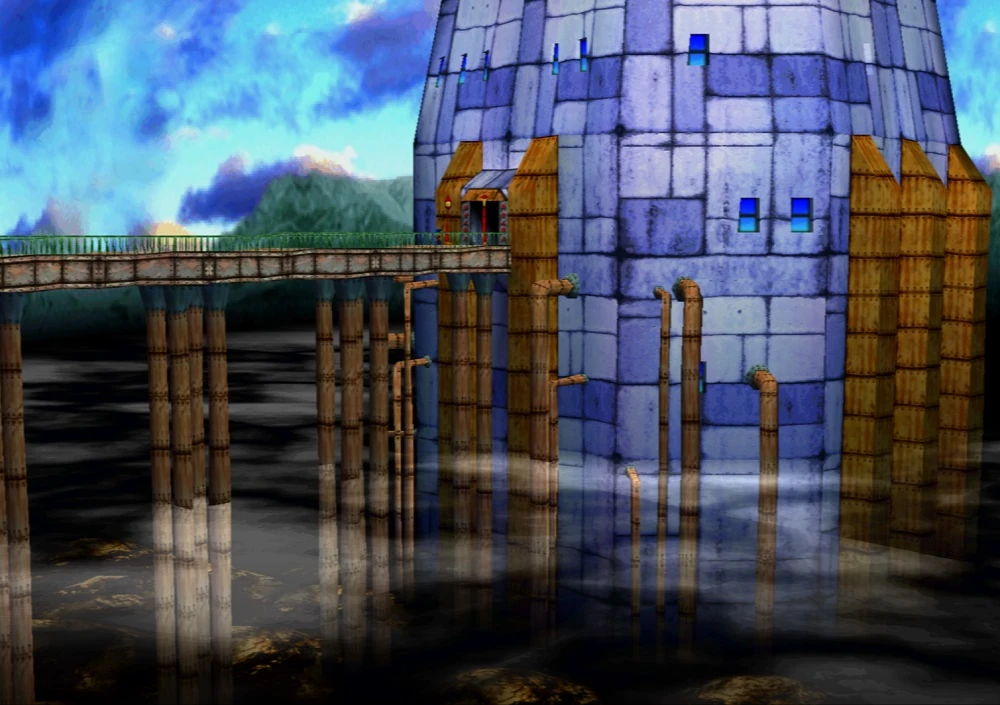

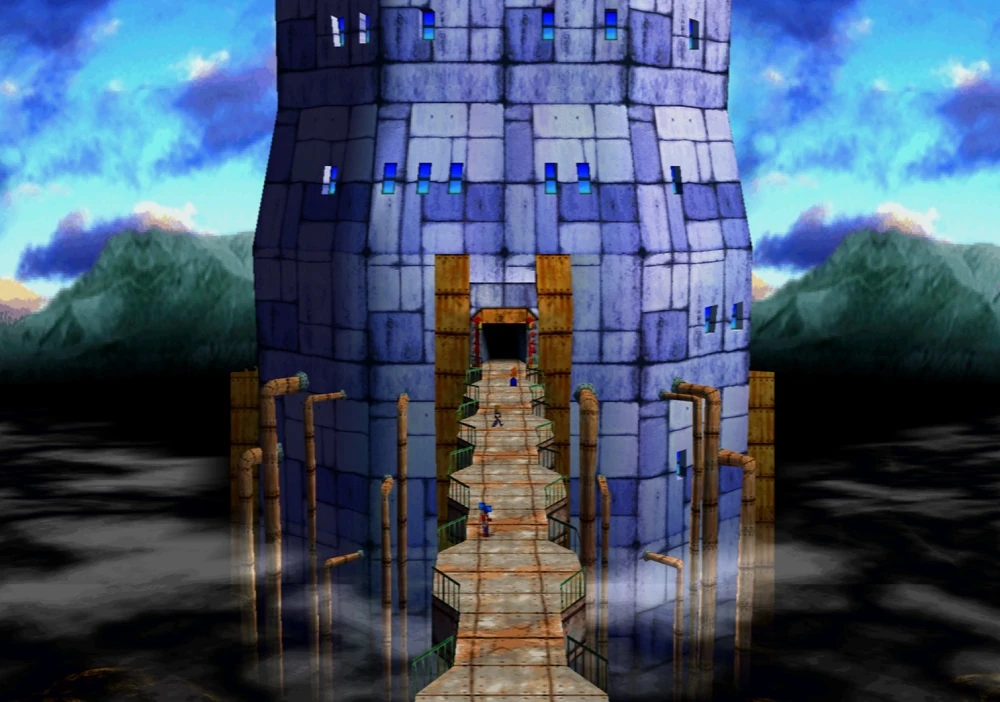
Sol is the largest and most technologically advanced city in Legaia. Utilizing the power of the Seru hundreds of years before the arrival of the Mist, Sol was constructed in the age of Emperor Etora I, who chose the location due to the presence of a Genesis Tree. The city was built upwards, surrounding the Genesis Tree at the bottom of a massive canyon, and a bridge supported by pillars was built to connect the tower to the grassy plains above, serving as the city's entryway.
Ruled as a monarchy by the Etora bloodline since its inception, the city has a strong military presence. However, with its variety of entertainment options, Sol developed a reputation as being a place of boundless paradise. As an entertainment and cultural hub, Sol's influence spread far and wide, and it became particularly notable for its emphasis on breeding Seru. Despite Sol's strength and influence, its expansion into other territories remains limited due to its rivalry with the royal family in the sovereign territory of Conkram. This rivalry eventually develops into a full-scale war that lasts for over a decade before the arrival of the Mist puts it to a halt.
Story[]
Karisto Kingdom War and the arrival of the Mist[]
Over twenty years before the Mist appeared, quarreling started between Sol and Conkram, a city in Karisto's northern mountains. The ruling powers of both territories had their sights on ruling Karisto Kingdom in its entirety, and the quarreling soon turned into a number of small-scale armed conflicts. As the fighting continued, both Sol and Conkram put together powerful armies and artificially strengthened their Seru. An all-out war soon erupted and the fighting continued for over a decade without an end in sight.
After over ten years of war, Sol appeared to finally have the upper hand. In addition to Sol's army having powerful warriors that were feared on the battlefield, particularly the famed Gaza, the city's control over the ancient ruins of Uru Mais enabled it to capture new, powerful Seru that Conkram did not have in its possession. News started to spread in Sol that it was close to victory, and its citizens eagerly awaited to celebrate the war's end. One day, as Emperor Etora VIII was commanding his frontline troops, the Mist suddenly enveloped both Sol's and Conkram's armies, changing their Seru-wearing soldiers into mindless Seru monsters, and turning unworn Seru into violent beasts that attacked humans on sight.
Chaos erupted in Sol as people were slaughtered by crazed Seru monsters and Seru without mercy. Those who managed to survive did so by fleeing to the upper floors of Sol where the Mist could not reach. Seru monsters and Seru continued to roam the lower floors of the tower, with Solians remaining trapped up above in "endless paradise".
The Revival of the Genesis Tree[]
After over ten years of Sol's lower levels being covered in the Mist, the city is visited by the Ra-Seru heroes so that they may revive its Genesis Tree and dispel the substance. They find that the citizens of Sol have in large part become desensitized to the Mist due to living for years in the surroundings of bars, nightclubs, and casinos. However, there is a permeating sense of decadence and depravity among the populace due to being trapped in the pursuit of endless pleasure. The heroes obtain a Genesis Tree Seedling from the head of the Biron temple at Sol's observatory, being informed that the withered tree transformed itself into the seedling one hundred years prior. They are confronted by Sol's famed warrior Gaza, who does not want the Mist to go away as his only reason for living is to kill the monsters that slaughtered his family years ago. Forced to fight him, they can only watch as he is abducted by a henchman of the Mist named Songi.
The heroes make their way to the tower's basement called the Warrior's Square after solving a defense system that had been put in place by Dr. Usha before the Mist's arrival. Before they can plant the seedling, Gaza is teleported in front of them and equipped with a special Seru to give him the power to kill the heroes. Upon defeating him, they use his life force to help the Genesis Tree grow and rid the Mist from the city. Before they leave, they meet a revived Emperor Etora VIII, who gives them a message from Dr. Usha that they must use at his laboratory.
After the Mist is gone from Sol, many people from upstairs venture down to either reopen their former businesses, simply look around, or try to find family members and friends that had been trapped when the Mist first appeared. It is discovered that very few of the people turned into Seru monsters years prior had returned. Many speculate that the warrior Gaza killed most of them in his bloodlust, not considering that they were his former friends.
Layout[]
Sol is a single giant structure containing multiple floors. Elevators are located on each floor to make travel up and down the tower more convenient.
B1F[]
The basement level of Sol Tower. It contains the Control Room, the library, weapons storage, the Genesis Tree Monument, and the Warrior's Square where the Genesis Tree was originally planted.
Machine Room/Sage's Treasure Chests[]
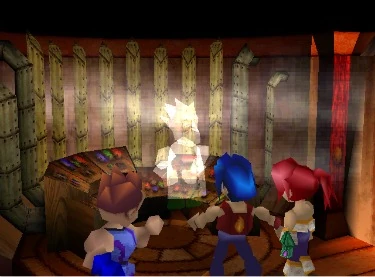
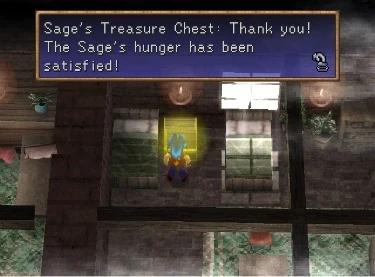
The machine room operates the controls for the guard dog that prevents access to the lower levels of Sol Tower and thus Warrior's Square. The Sage's Gate can only be removed by activating this machine, however doing so is quite tricky, as the Ra-Seru heroes soon discover. In order to move the it all of the Sage's Treasure Chests must be fed Soru Bread. Soru Bread sells in the Sol Bakery for 6,000G a piece so the heroes must either spend a fortune or Vahn must compete in the Muscle Dome and purchase Soru Bread from the prize counter, a much better deal.
The items carried by the Sage's Treasure Chests are:
- Magic Water (+4 Magic)
- Wisdom Water (+4 Int)
- Swift Water (+4 Spd)
- Wonder Elixir (Raises all stats for the duration of one battle)
- Power Water (+4 Atk)
- Healing Berry (Full heal)
- Life Water (+16 HP)
- Guardian Water (+4 Def)
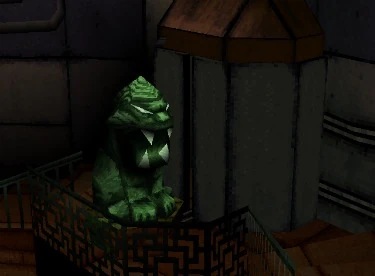
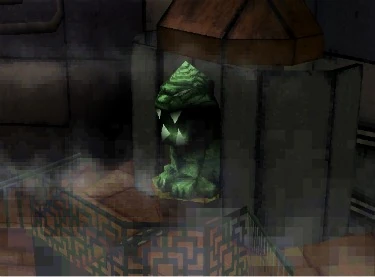
Warrior's Square[]
Located at the very bottom of the tower. This is where the tower's Genesis Tree Seedling is placed and is also where you face Gaza for the second time. Because the air in here was secluded for so long it grew stale and made the temperature very cold.
") ") ") ") ") ") ") ") |
Once all of the Sage Treasure Chests have been satisfied a rumbling in the distance will indicate the removal of the Sage's Gate:
1F[]
The first floor of Sol Tower contains the entrance/exit to the tower's main walkway, along with an items shop closer to the basement level and an inn closer to the second floor.
Items Shop 1[]
| Items Shop 1 | |
| Guardian Ring | 8,000 |
| Speed Ring | 8,000 |
| Wisdom Ring | 8,000 |
| Healing Berry | 3,000 |
| Healing Bloom | 600 |
| Phoenix | 1,600 |
| Door of Light | 200 |
2F[]
The second floor of Sol Tower has an arms shop as well as a diner that serves a variety of delicacies.
Arms Shop 1[]
| Arms Shop 1 | |
| Holy Claw | 17,000 |
| Battle Axe | 15,600 |
| Hero Seal | 12,500 |
| Expert Armor | 22,200 |
| Steel Boots | 18,000 |
| War God Plate | 28,800 |
3F[]
The third floor of Sol Tower holds the back entrance to the first floor items shop, which goes down two floors.
4F[]
The fourth floor of Sol Tower has an inn closer to the third floor, with the Jazz Club a little ways above it leading up the tower. The Muscle Dome containing the arcade and fighting arena lies just before the fifth floor.
Jazz Club[]
This bar is mandatory to access for storyline progression. You see the return of Cara and meet her lover, Grantes. There is also a Pianist and a prostitute that will tell you a story if you buy her drinks.
- There is also a Funny scene with Noa misunderstanding Cara and Vahn.
Muscle Dome[]
The Muscle Dome is both an arcade and a fighting arena. Inside there are slot machines, a fighting mini-game called Baka Fighter, and a major endurance-style combat arena where Vahn alone fights a series of regular enemies and bosses.
Slots[]
The Slot Machines in the Muscle Dome work just like the one in Vidna. You choose to put coins in and press buttons (X, O and S) to determine when the columns in the slot machine stops. Lining up the same image correctly (3 in a row) awards you with coins.
Slot Payout:
- Pufferfish and Revived Genesis Tree.................................................... x30 Payout


- Dormant Genesis Tree, Lippian, Red Lippian..........................................x 9 Payout
- Coin...................................................................................................x20 Payout
- Kick/Punch.........................................................................................Bonus Game
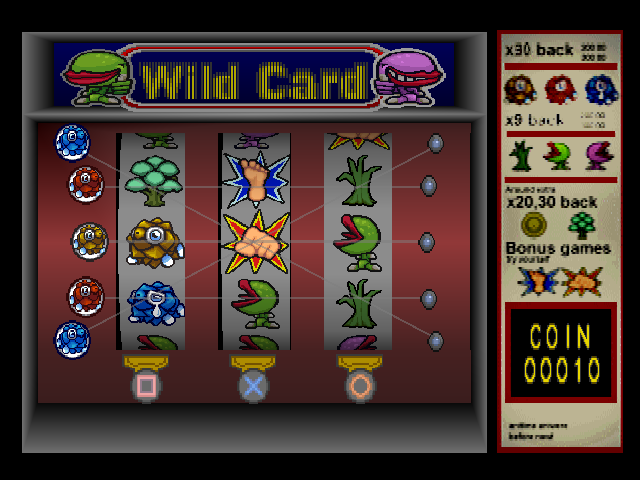
Easy Money: If you watch the wheel spinning closely, you will notice that Punch and Kick with spikes (Blue and Yellow) are going around in circles, try to catch three in a row and you will get to the bonus game. If you get the bonus game, try to catch all 10's. each column is multiplied together, so 10x10x10 is 1000 coins. Play even longer and you will start hearing "Kick" or "Punch", once you hear this, you can easily press the buttons to get the bonus games again. Once you are done use the Muscle done shop to buy Soru bread.(100 coins each) Aside from being important to the story, these loafs also sell for 3,000G a piece.
Baka Fighter[]
Baka Fighter is a mini-game that is basically a rock-paper-scissors arcade fighter. Both you and your opponent press X, O or S (square). the formula for which Button beats which is:
- S beats X
- O beats S
- X beats O
Each enemy gives coins when defeated that are added to a pool. If the entire game is won (13-14 enemies), 460 coins are gained.
Arena[]
There are three difficulty levels, each giving you a larger number of coins than the last. Each Round is also harder than the last. Running in round 1 of each of the 3 Tournaments awards you with the Chicken King. This Item allows you to escape from all non-boss battles. Losing or Running will signifigantly reduce the number of coins you gain.
| Beginner Course | |
| Equipment allowed. No items allowed. Magic is allowed. Accessories are allowed. You get 818 coins if you win | |
| Round 1 | Red Piura |
| Round 2 | Skeleton |
| Round 3 | Drake Ghost |
| Round 4 | Caruban |
| Round 5 | [Fire] Gola Gola |
| Round 6 | Zeto |
| Round 7 | [Thunder] Viguro Lv.2 |
| Round 8 | Xain |
| Expert Course | |
| No equipment allowed. No items allowed. Magic is allowed. Accessories are allowed. You get 1532 coins if you win | |
| Round 1 | Black Piura |
| Round 2 | High Gomboo |
| Round 3 | Dark Ogre |
| Round 4 | Gold Bison |
| Round 5 | Ironman |
| Round 6 | Caruban |
| Round 7 | [Light] Aluru |
| Round 8 | Xain |
| Master Course | |
| No equipment allowed. No items allowed. No magic allowed. Accessories are allowed. You get 13,856 coins if you win. You also get the War God Icon IF you have beaten Jette in the Absolute Fortress. If you beat the arena before you beat Jette, you can NEVER get the War God Icon. | |
| Round 1 | Ironman |
| Round 2 | [Thunder] Viguro Lv.2 |
| Round 3 | Gold Bison |
| Round 4 | Caruban |
| Round 5 | Zeto |
| Round 6 | Berserker |
| Round 7 | Xain |
| Round 8 | Dohati |
| Round 9 | Lu Delilas |
| Round 10 | Che Delilas |
| Round 11 | Gi Delilas |
| Round 12 | Zora |
| Round 13 | Jette |
Token Shop And Token Seller[]
In the Muscle Dome there is a shop that sells things for coins as well as a lady who will sell you coins. The Seller Sells Tokens for 100G per token.
Token Shop
| Item | Cost in Coins |
| Earth Egg | 100000 |
| Evil God Icon | 10000 |
| Lost Grail | 8000 |
| Life Armband | 5000 |
| Deluxe Rod | 2500 |
| Vitality Ring | 1000 |
| Magic Ring | 500 |
| Healing Berry | 250 |
| Incense | 200 |
| Fury Boost | 150 |
| Soru Bread | 100 |
| Gold Card | 50 |
| *Earth Egg won't appear until you have 100000 coins. | |
5F[]
The fifth floor of Sol Tower holds the Fever Disco nightclub as well as Sol Broadway, where standup comedy routines are the focus.
Sol Fever Disco[]
The Disco is where you can engage in a dancing mini-game using Noa. Sucess will net you items. You'll need a Gold card to enter (you can buy one at the Muscle Dome) and 500G to enter the dance contest.
Winning the Dance Contest you get 3 Items:
- 10,000G
- A Swimsuit
- After winning talk to the Disco King to receive a Speed Chain.
If you lose you can try again until you win. Upon winning the contest there will be no more contests from that point on but you can still access the dancing mini-game with everybody dancing with you on stage in the background (Noa's image will now be on the slideshows behind the stage).
Sol Broadway[]
Is a little place where Gala helps out a theatre group. Enter Sol Broadway and talk to Mon. He will ask Gala to help him. With Gala's help the show is a success. However, you don't get anything except that now you can enter the show for free.
6F[]
The sixth floor of Sol Tower contains the Bakery where world-famous Soru Bread can be purchased along with various items. Beyond the bakery is an Arms Shop selling weapons, and beyond that is a Warehouse run by mischievous kids that sell a limited selection of items and accessories.
Bakery and Items Shop 2[]
| Soru's Bakery | |
| Item | Cost |
| Soru Bread | 6000 |
| Soru Bread | 6000 |
| Soru Bread | 6000 |
| Soru Bread | 6000 |
| Soru Bread | 6000 |
| Soru Bread | 6000 |
| Soru Bread | 6000 |
| Items Shop 2 | |
| Item | Cost |
| Life Ring | 9,500 |
| Power Ring | 8,000 |
| Stone Amulet | 15,000 |
| Nature Amulet | 8,000 |
| Healing Flower | 400 |
| Magic Leaf | 1,000 |
| Door of Wind | 200 |
Arms Shop 2[]
| Arms Shop | |
| Item | Cost |
| Beast Buster | 14,500 |
| Bloody Claw | 9,500 |
| Survival Axe | 10,800 |
| Master Armor | 15,400 |
| Hero Boots | 15,500 |
| Royal Crown | 9,400 |
| Tempest Robe | 13,400 |
Warehouse[]
A bunch of kids run a black market where you can buy:
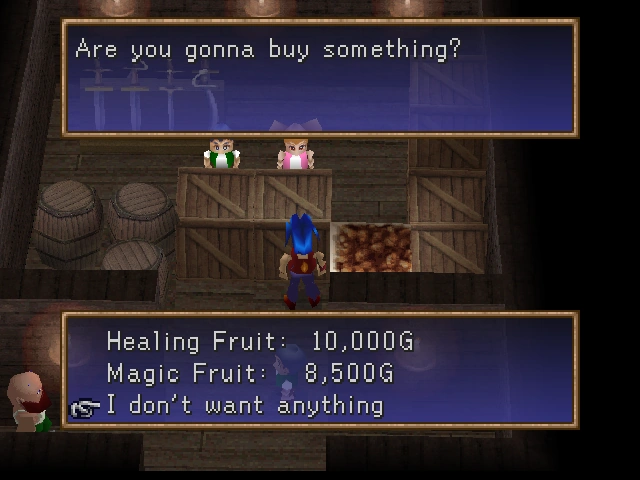
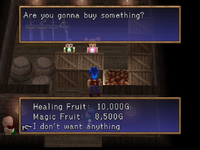
BM
- Healing Fruit............10,000G
- Magic Fruit............... 8,500G
- Life Grail..................40,000G
While the healing and magic fruits are high priced, the Life Grail is a very good item to have and if you have the money is a good buy.
7F[]
The seventh floor of Sol Tower has the Community Hall, akin to a senior center. Leading up from that is a cafe, and even farther up is the Dayschool, a daycare center for toddlers and newborns.
Observatory[]
The observatory at the top of the tower is the location of Sol Tower's Biron temple, where many warrior-monks train night and day.
Biron Temple[]
This temple is home to a small group of Biron monks. You receive the Genesis Tree Sapling from Old Deez, the leader of the monks in Sol Tower, upon entrance. This is also where you fight your first boss battle in Karisto Kingdom. Inside the temple, talking to the monk on the upper left and answering "yes" will give you a free HP/MP heal.
Location[]
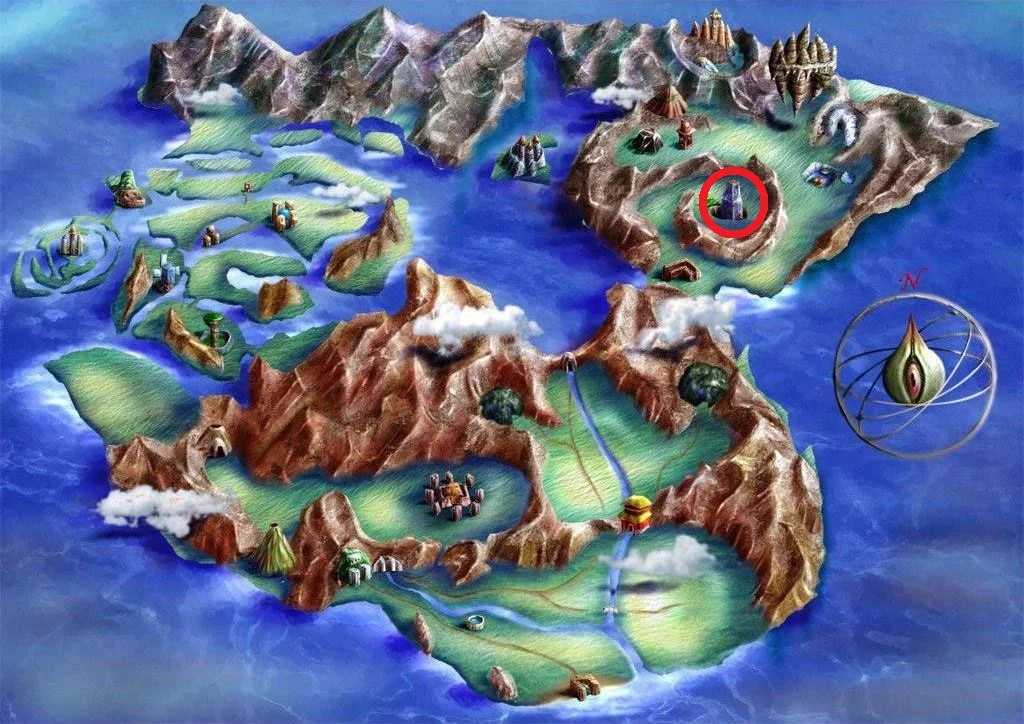

Location of Sol, indicated by red circle.
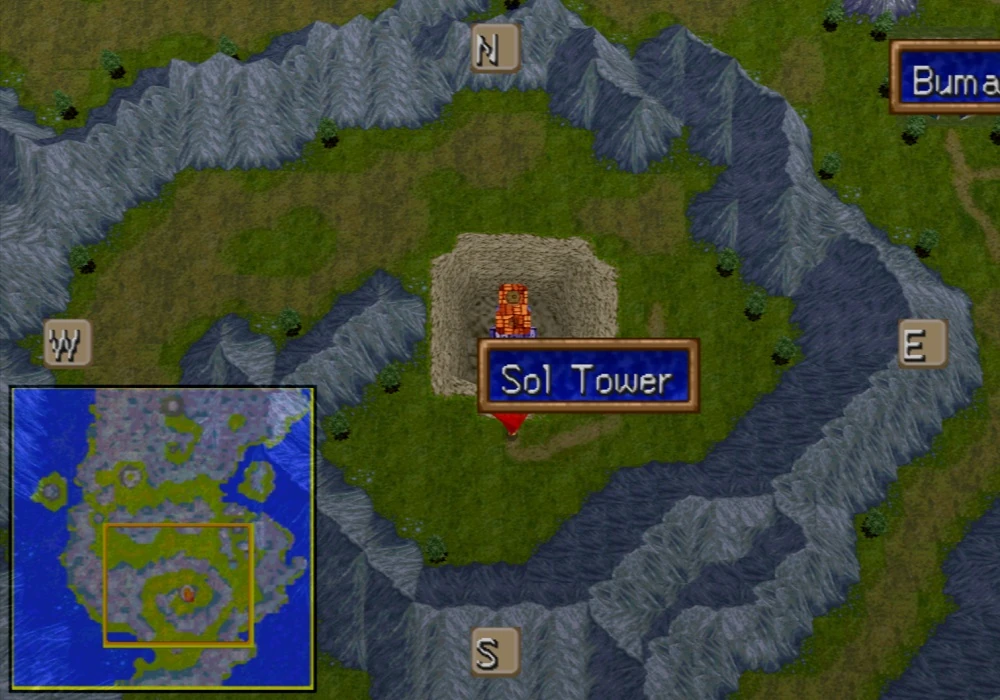
Sol is located to the south on Legaia's eastern continent, surrounded by a spiral of mountains.

Musical Themes[]
| Sol Tower Theme
|
|
| Problems listening to this file? See media help. | |
Several themes play in Sol, but the city's main theme "Barracks" (バラック, barakku) is the most prominent. While not included in the release of Legend of Legaia's original soundtrack, it is included and titled in Disc 2 of Legaia 2: Duel Saga's soundtrack. For the observatory, "We Are the Biron Warrior Monks" (我らバイロン僧兵団, warera bairon sōhei-dan) plays as the main theme.
| Muscle Dome Theme
|
|
| Problems listening to this file? See media help. | |
Throughout the rest of Sol Tower, "Wild Declaration" (ワイルド宣言, wairudo sengen) plays inside the Muscle Dome and "Wanna Wanna" plays in the Sol Fever Disco.
Gallery[]
") ") ") ") ") ") ") |